Setting up your account for the first time.
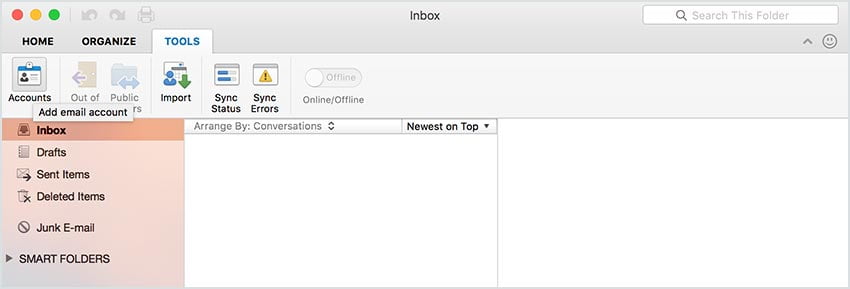
- Open up Outlook for Mac. Click the Tools tab, then click Accounts.
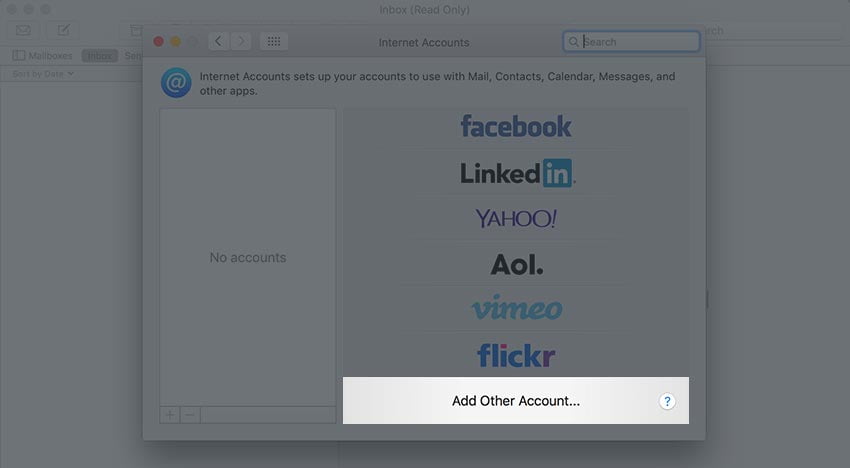
- Select Other Email when prompted to select an account type.
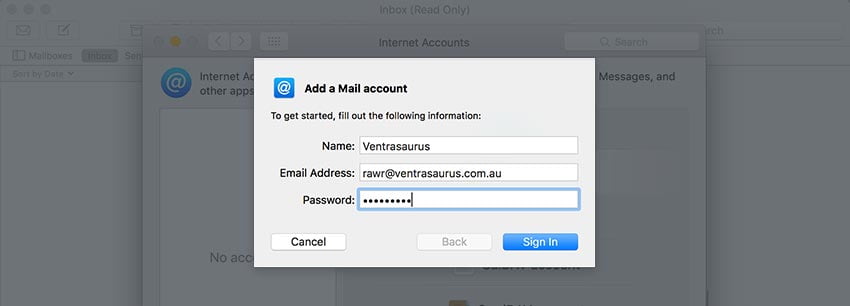
- Enter your account information.
- Email address: your full email address needs to go here.
- Password: the password for your email account.
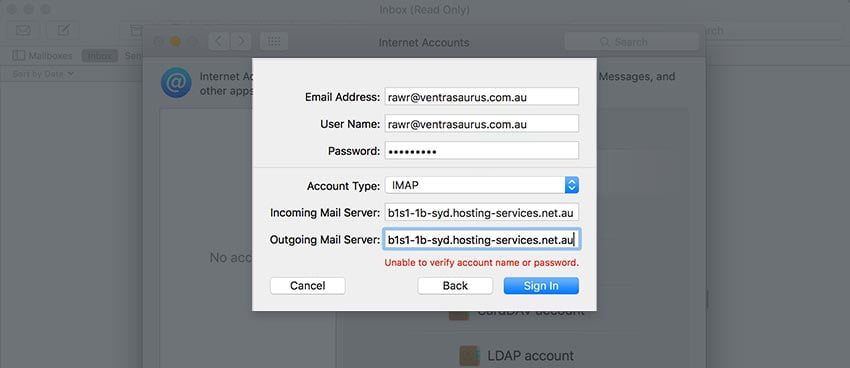
- Username: your full email address, the same as above.
- Type: IMAP (read more about why you should choose this!)
- Incoming server: locate your email server here. Tick to enable “Override default port”, then enter 993. Tick to enable “Use SSL to connect”.
- Outgoing server: this should be identical to the Incoming server. Tick to enable “Override default port”, then enter 465. Tick to enable “Use SSL to connect”.
- Click Add Account.

- Adjust the Account description and Full Name fields as you wish, then click More Options.
- Next to authentication, select Use Incoming Server Info, then click OK to proceed.
- Close the window, and you are good to go! Outlook for your Mac has now been configured.