Setting up your account for the first time
1. Open Outlook and click File at the top left. 2. Click on Account Settings to reveal the dropdown menu, then Account Settings.
 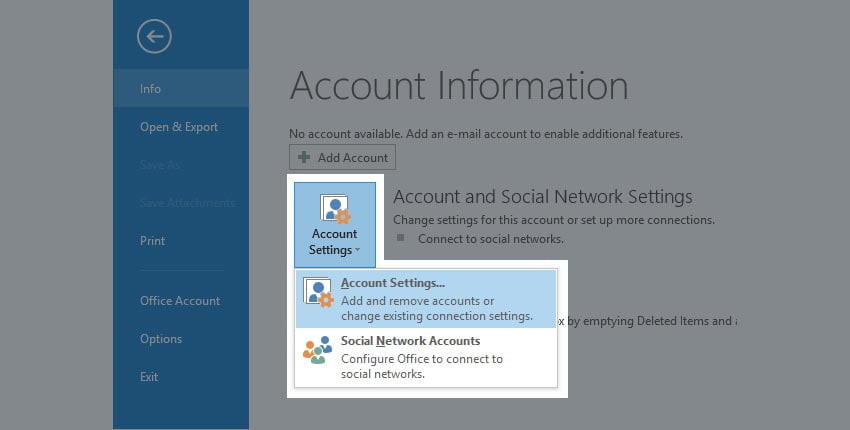 3. You should be presented with the Account Settings page. Click New.
  4. Select the Manual setup or additional server types option. This allows us to enter the server information manually.
 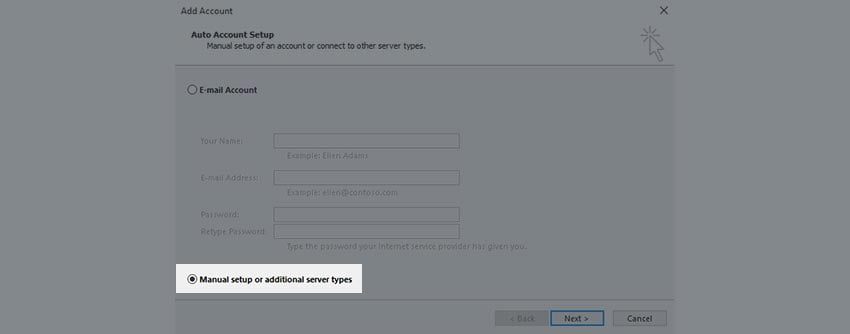 5. Choose POP or IMAP (the third option) when it prompts you for the Service.
 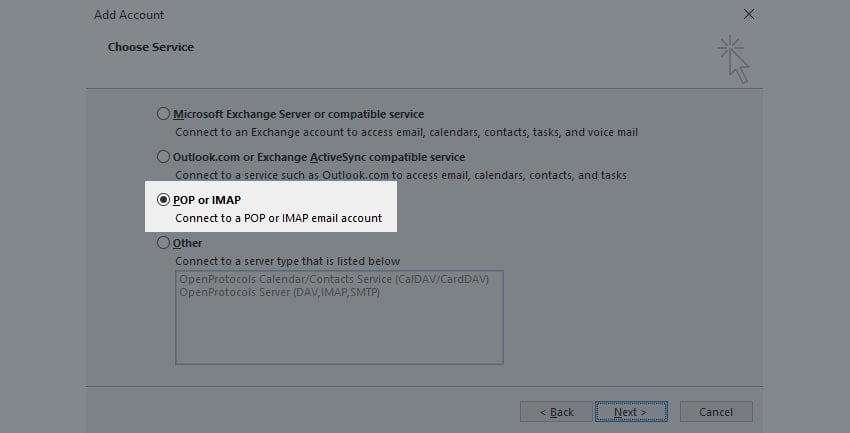 6. Enter your details.
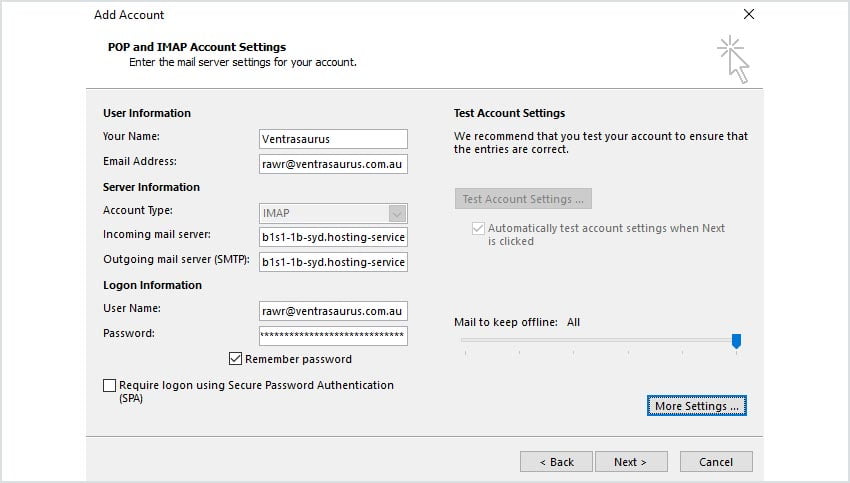
- Your Name: This is what will display as the ‘From’ name on your emails (e.g. John Smith)
- Email Address: This is your full email address (e.g. john@exampledomain.com.au)
- Account Type: Select either POP3 or IMAP (Click here for more information on this choice)
- Incoming Mail Server: This will be the server hostname. (Use this guide to retrieve this information)
- Outgoing Mail Server: This should be identical to the above.
- User Name: This is your full email address (e.g. john@exampledomain.com.au).
- Password: The password for your email account, which you would have selected when you created the email account.
- Remember Password: You can tick this if desired. If you don’t, you will need to log in every time.
 7. Click Outgoing Server, then tick the box which says My outgoing server (SMTP) requires authentication.
 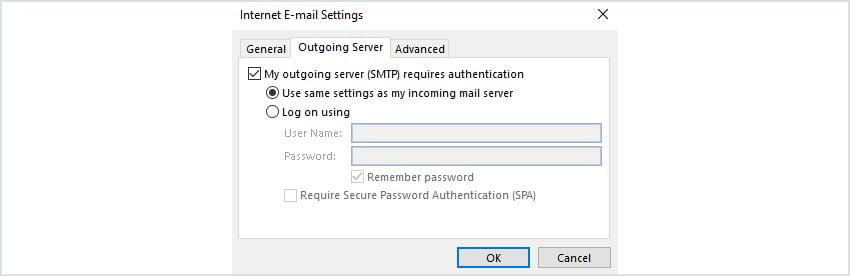 8. Click Advanced, then enter the port numbers. If you’re using IMAP, it’s 993. For POP3, it’s 995. Choose SSL in both dropdown boxes, then enter 465 for the SMTP port.
 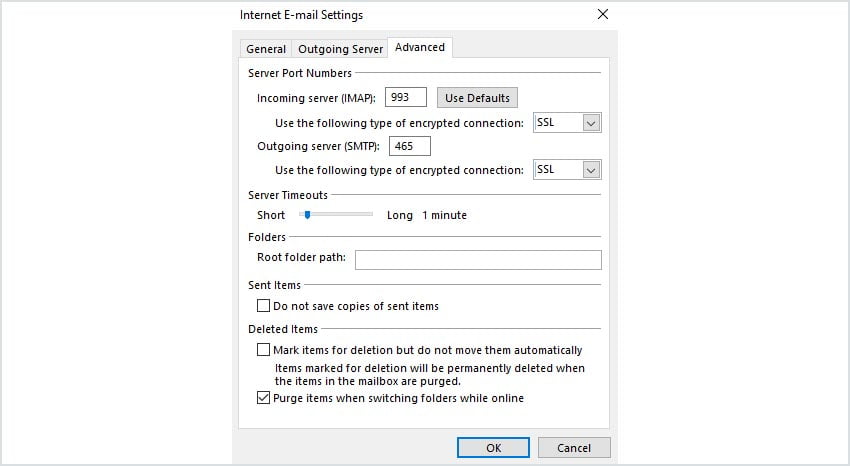 9. Click Ok, then click Next. Outlook should test your settings to make sure that they work correctly. You should get two ticks. Click Close.
 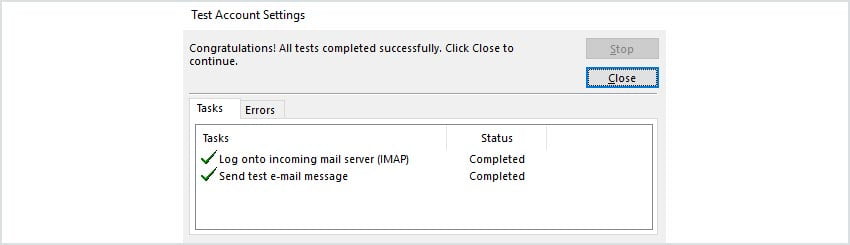 10. Click Finish to dismiss the Add Account Wizard.
 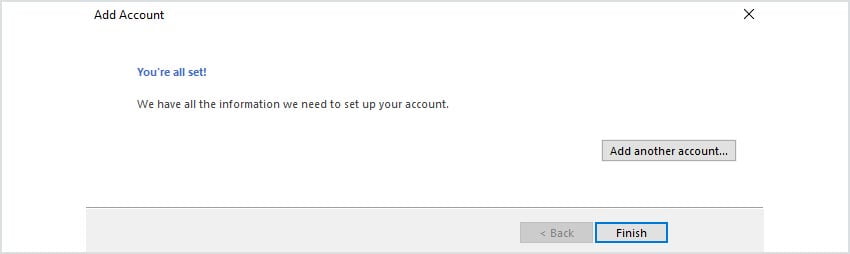 11. Click Close to the final box, then begin sending and receiving emails!