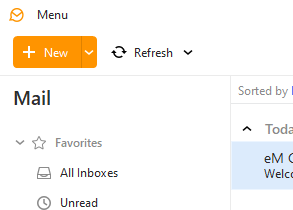
- Open eM client and click on the Menu option at the top left of the interface
- Click on the Accounts option.
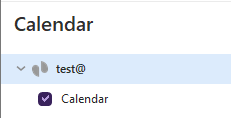
- If you have not set up any accounts yet, select Calendar then click CalDAV. If you have accounts set up already, you may need to click Add Account first.
- Click Next.
- Input the CalDAV server details:
- The Account Address field needs to be set to “http://ventraip.email/Calendar/Calendar”.
- The Username and Password fields need to be set to the same username and password you use to log in to your email account.
- Click Next.
- Set the Account Name (this can be whatever you like).
- Click Next.